New to the 3D Environment? Understand the Right Hand Rule for Autodesk 3D
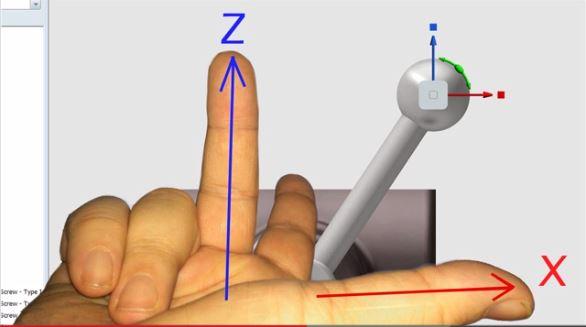
Sometimes the simplest explanation can save many hours of frustration. That’s what we find when people move directly to a 3D environment without an introduction training. It’s different. Sure, it’s still designing, and sometimes it makes manipulating your design a longer, more frustrating process as you learn on your own. With that in mind, I have created this video so that you can understand how the rotation and movement of your designs work in the Autodesk 3D environment. When you understand how something works, it makes it much easier to work with.
Check it out:
I hope that helps. If you have any questions, please contact us!
Happy Designing,
Bill
Bill McKown is Synergis’ Visualization expert. Having joined the company  in 2011, his prior employment involved CAD design, 3D renderings for both architectural and interior design projects, and training and supporting for all the products associate with these. Bill has a bachelor’s degree in Industrial Arts in Education and additional certifications in Computer Animation and Autodesk solutions.
See some of Bill’s other posts:
- Batch Converting Drawings to Older Versions
- AutoCAD 2014: Overview of New and Updated Features
- 3ds Max Material Editor
- How to use the 3ds Max Shape Merge
- How to Use 3ds Max Ambient Occlusions
- 5 Tips for a Better 3ds Max Workflow
- How to Use the Bevel Profile Modifier
Contact us, visit the Synergis website or subscribe to our blog.
By Bill McKown, Visualization Expert with Synergis Engineering Design Solutions
This blog was originally published on the Synergis blog and is re-printed here with kind permission.


